
For Refrigerators:
- Supply Chain Realism: A refrigerator can be dropped, tipped, or impacted multiple times during manufacturing, palletizing, trucking, warehouse handling, and final delivery into a home. A “drop” often simulates a forklift mishap or a stair-step impact.
- Catastrophic Hazard Prevention:
- Refrigerant Circuit Integrity: A sharp impact can crack the compressor, kink copper tubing, or rupture the condenser/evaporator coils. This releases refrigerant (an environmental hazard and greenhouse gas) and oil, rendering the unit inoperable.
- Insulation & Vacuum Integrity: Jars can compromise the internal foamed-in-place insulation (e.g., cyclopentane) or damage the vacuum panel insulation in high-end models, destroying thermal efficiency.
- Structural Collapse: The cabinet is a thin metal/plastic shell with a heavy compressor mounted at the bottom. A drop can buckle the frame, preventing doors from sealing (leading to energy loss) or causing them to not open/close at all.
- Component Retention: Internal components like the evaporator fan, ice maker assembly, control board, and crisper drawers must not become dislodged and cause internal damage.
For Air Conditioners (Split, Window, Portable Units):
- Unit & Component Handling: While the outdoor condenser unit is rarely “dropped,” the indoor unit (especially for ductless splits) and portable ACs are frequently manhandled during installation. For window units, dropping during installation is a common risk.
- Critical System Protection: Like fridges, the hermetic refrigerant circuit (compressor, coils, capillary tube/expansion valve) is the heart of the system. An impact here is a total failure.
- Installation-Specific Risks: A split system’s copper line set (connecting indoor and outdoor units) is often coiled and shipped separately. It can be dropped, risking kinks or restrictions that cripple performance.
- Heat Exchanger Vulnerability: The delicate aluminum fins on the condenser and evaporator coils are easily bent or crushed, blocking airflow and destroying heat transfer efficiency.
What to Test After the Drop Test (Refrigerator & AC Specific)
The post-drop inspection is far more comprehensive than for small electronics, focusing on structural, thermal, and electromechanical integrity.
Phase 1: Critical Safety & Functional Check
For Both:
- Electrical Safety: Immediately check for grounding continuity and insulation resistance (Hi-Pot test). A crushed wire harness can create a shock hazard.
- Refrigerant Leak Check (Most Critical): Before even plugging it in, use an electronic leak detector or soap bubble solution on all fittings, the compressor shell, and along the condenser/evaporator coils. DO NOT OPERATE if a leak is suspected.
- Power-Up & Core Control: Plug in. Does the control panel illuminate? Do basic controls respond? For fridges, does the interior light turn on?
Phase 2: Detailed Physical & Mechanical Inspection
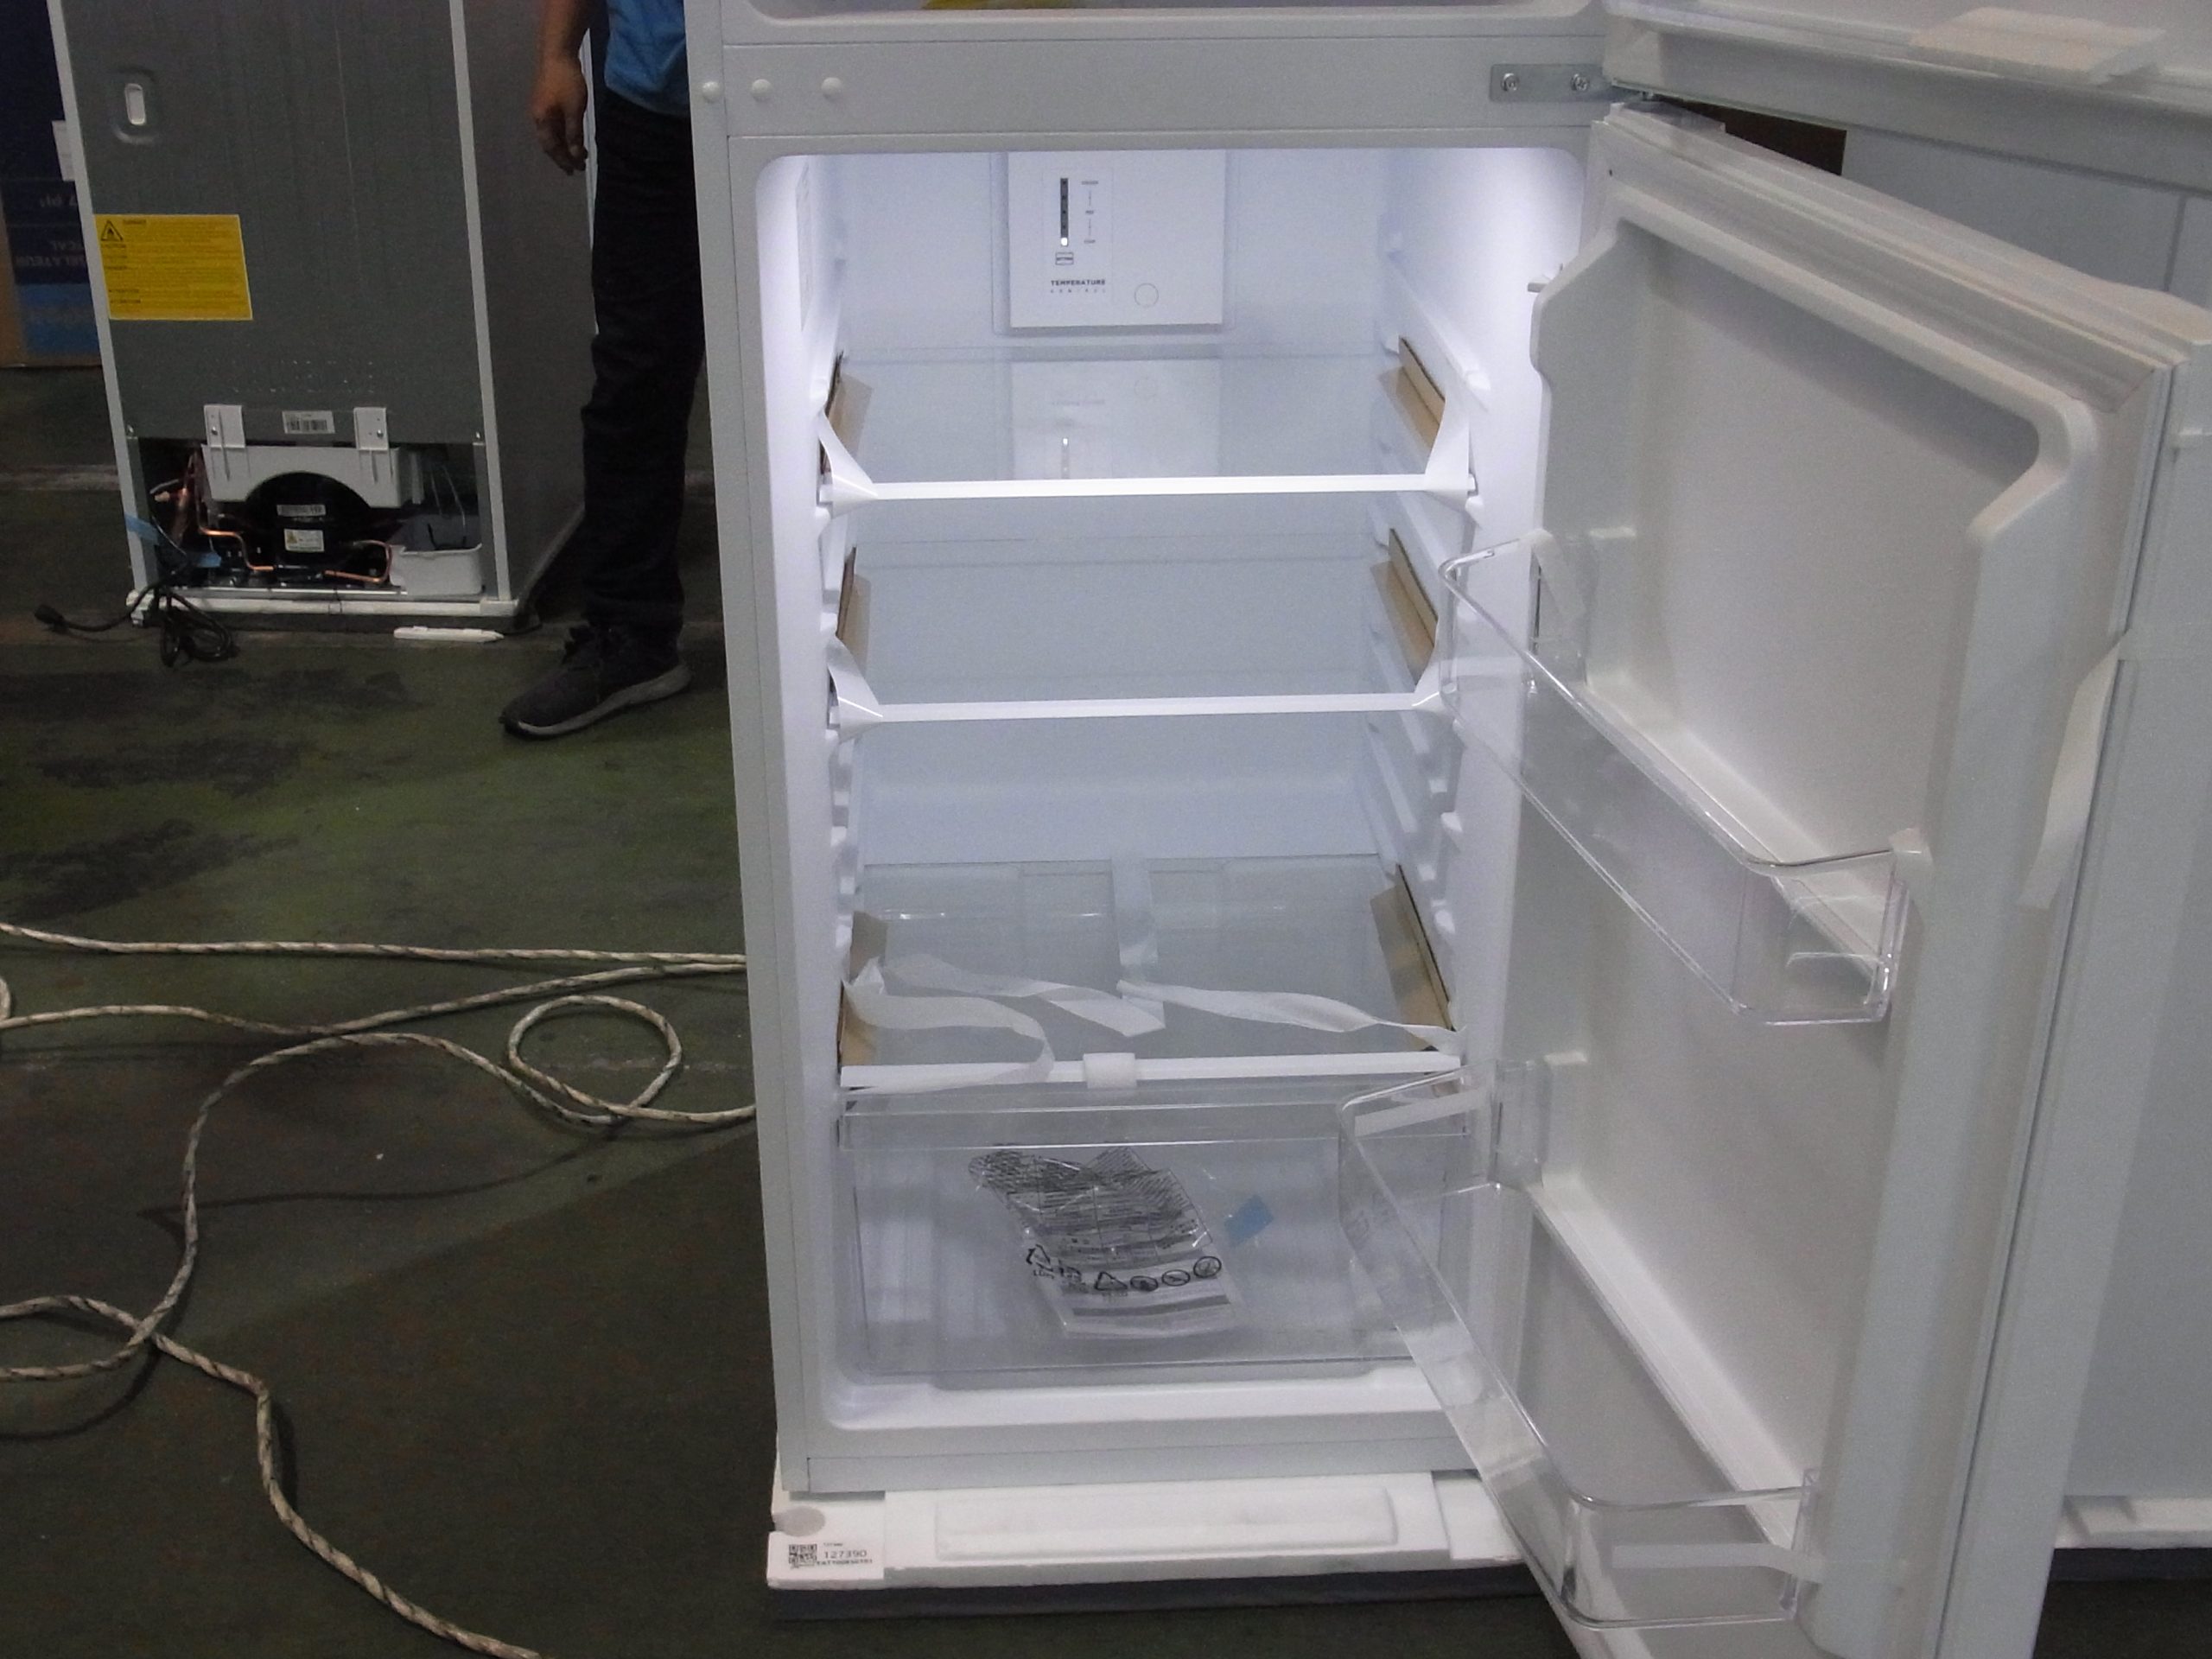
For Refrigerators:
- Cabinet & Door Alignment:
- Is the cabinet square? Measure diagonal dimensions.
- Do all doors (and freezer drawer) open and close smoothly without binding?
- Do the magnetic door gaskets seal uniformly along their entire length? Use a dollar bill test.
- Are hinges deformed?
- Internal Structure:
- Are internal plastic liners (door and cabinet) cracked, especially at stress points?
- Are shelves, drawers, and racks intact and properly seated? Do slides/glides work?
- Inspect the evaporator cover and drain pan at the back of the freezer compartment.
- External Components: Check the grille, kickplate, and rear access panel for damage and secure attachment.
For Air Conditioners:
- Casing Integrity: Check for cracks or dents in the plastic housing (indoor/portable) or metal cabinet (outdoor).
- Coil Inspection: Visually and manually inspect the condenser and evaporator fins. Are they bent over more than 30-40% depth? This severely impacts performance.
- Fan & Blower Assembly: Ensure the fan blades (both indoor blower and outdoor propeller) are not cracked, bent, or out of balance. Spin them by hand to check for scraping.
- Line Set (for splits): Uncoil and inspect the entire length of the copper tubing for kinks, flattening (>10% diameter reduction is a problem), or puncture.
Phase 3: System Performance & Operational Testing
This is the true test of hidden damage.
For Refrigerators:
- Cooling Cycle Test: Let it run for 1-2 hours.
- Listen for abnormal compressor noises (knocking, grinding, excessive vibration).
- Listen for proper evaporator fan operation.
- Feel for unusual cabinet vibration.
- Temperature Pull-Down: Place thermocouples in the fresh food and freezer compartments. Does it reach setpoint (e.g., 37°F / 3°C and 0°F / -18°C) within a reasonable time?
- Condenser Operation: Feel for hot air being expelled from the condenser (usually at the bottom back). Is airflow strong and uniform? A damaged condenser coil will run excessively hot and high pressure.
- Defrost Cycle: For frost-free models, initiate a forced defrost cycle to ensure the heater and drain system work.
For Air Conditioners:
- Full System Run Test (if no leak detected):
- Cooling Performance: Measure supply air and return air temperature differential. A properly working AC should have a ΔT of 16-22°F (9-12°C). A lower ΔT indicates refrigerant loss or compressor damage.
- Pressure Readings: Hook up manifold gauges to the service ports. Compare high-side and low-side pressures against specifications. Abnormal pressures indicate a restricted capillary tube (from a kink) or undercharge (from a leak).
- Compressor Amperage: Measure with a clamp meter. Compare to rated amperage. Low amperage + low pressure = leak. High amperage + high pressure = restriction or failing compressor.
- Airflow: Ensure both indoor and outdoor fans are moving the correct CFM. Blocked or bent coils reduce airflow.